
Last updated November 22, 2026
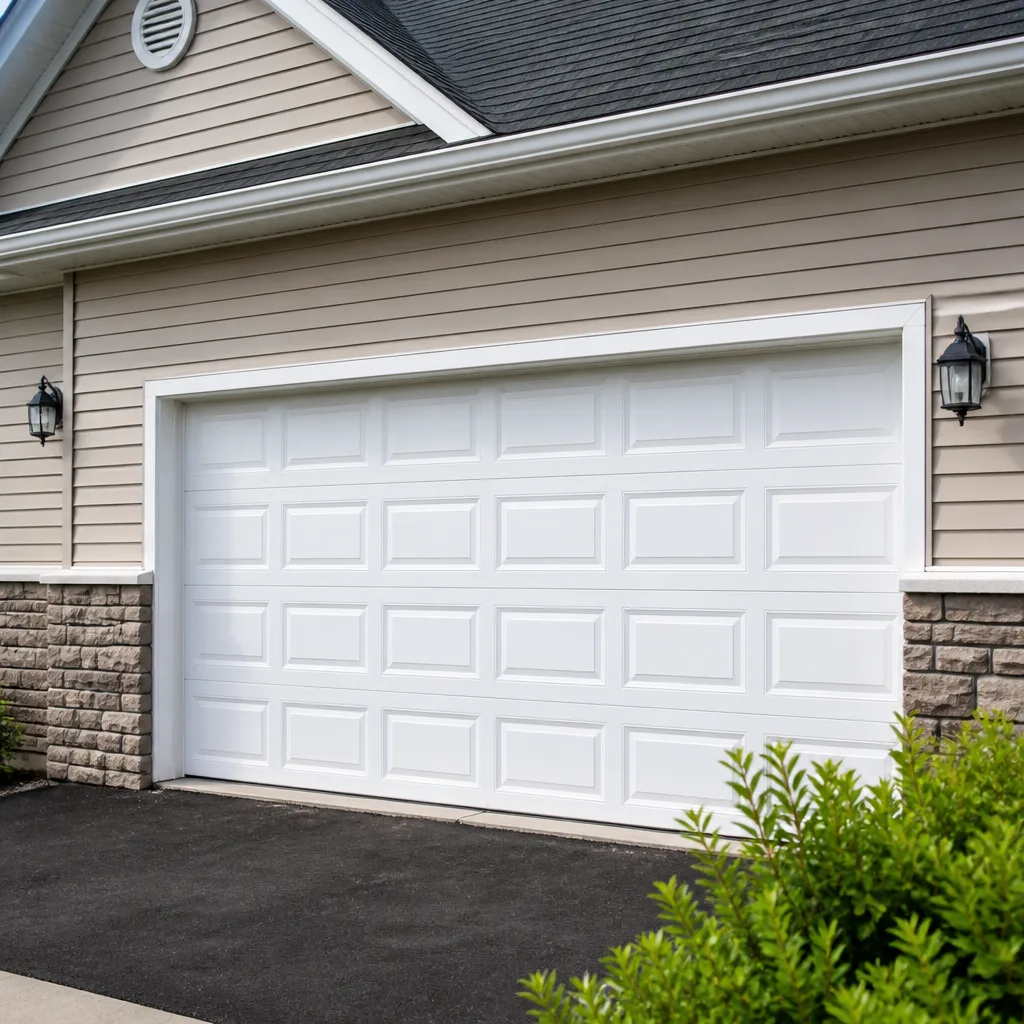 Raised-panel steel
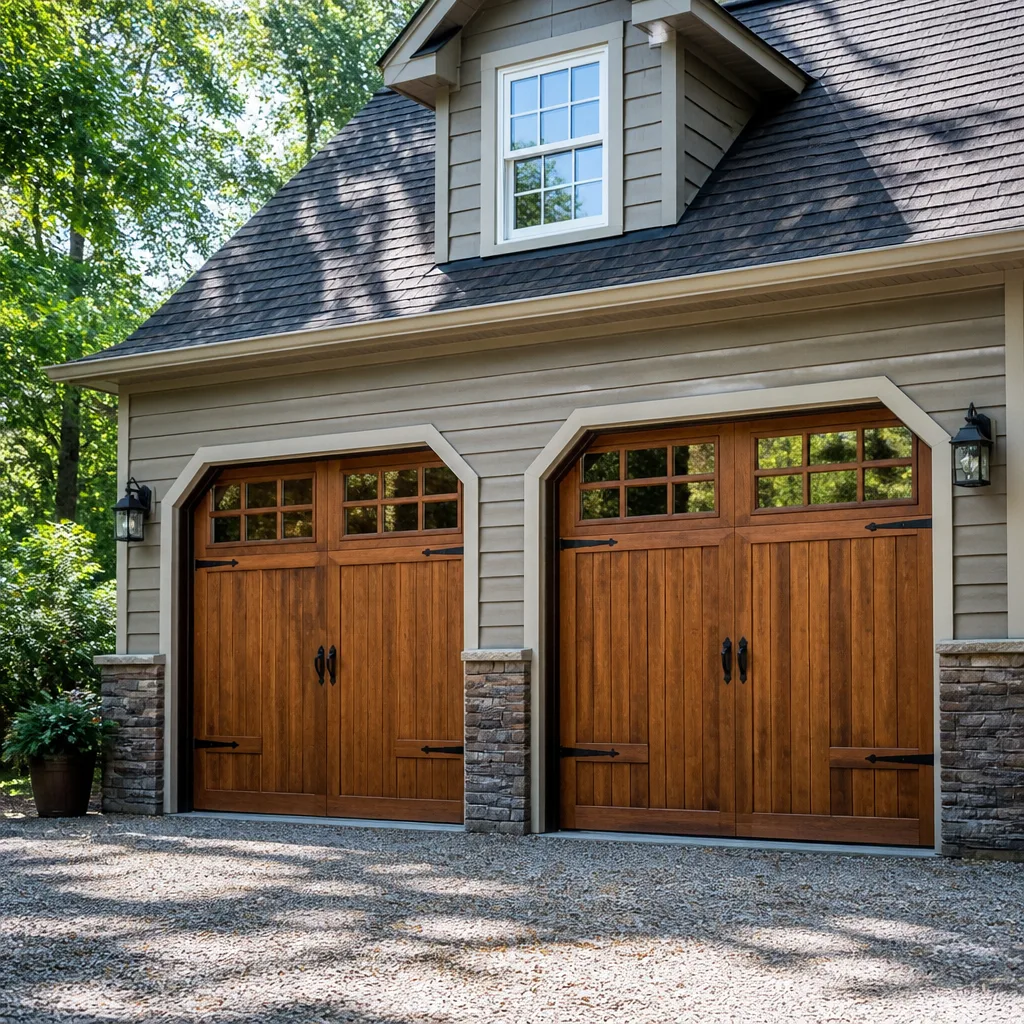 Carriage house
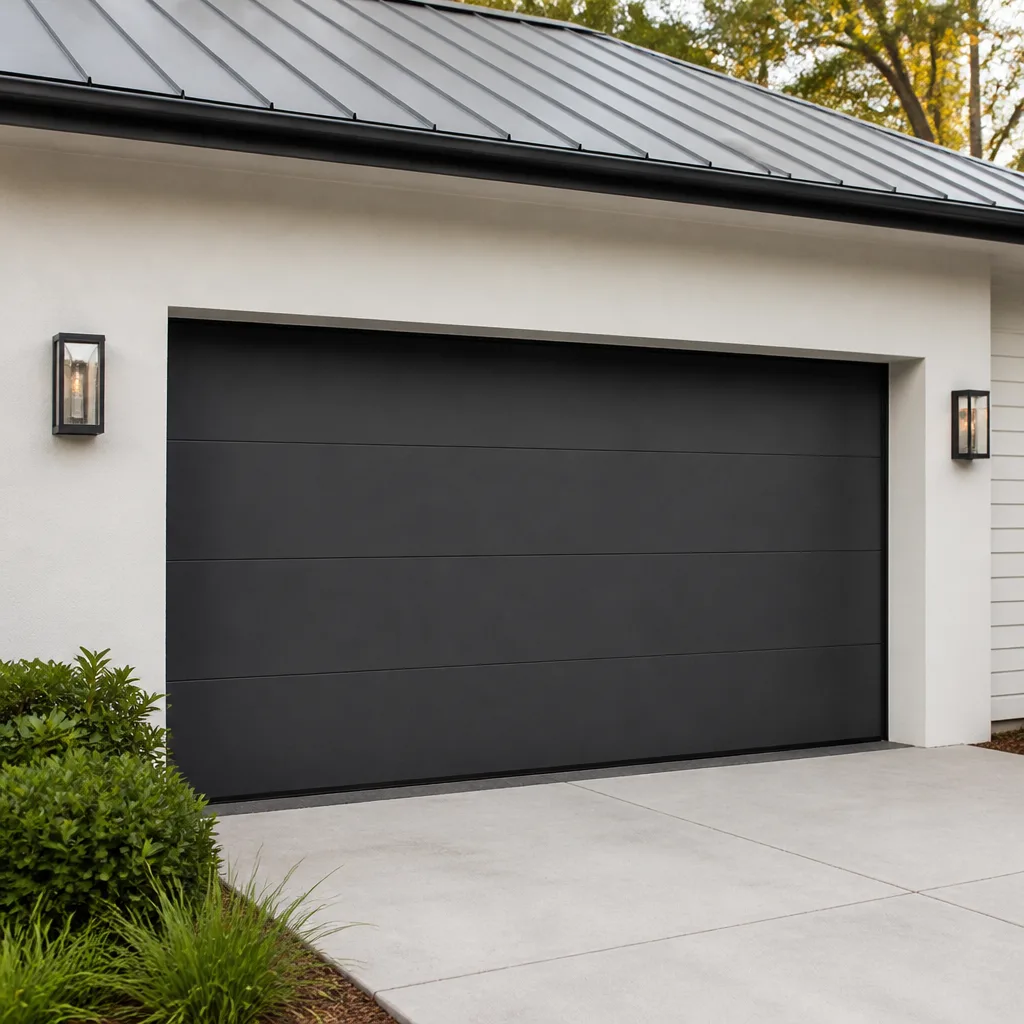 Modern flush
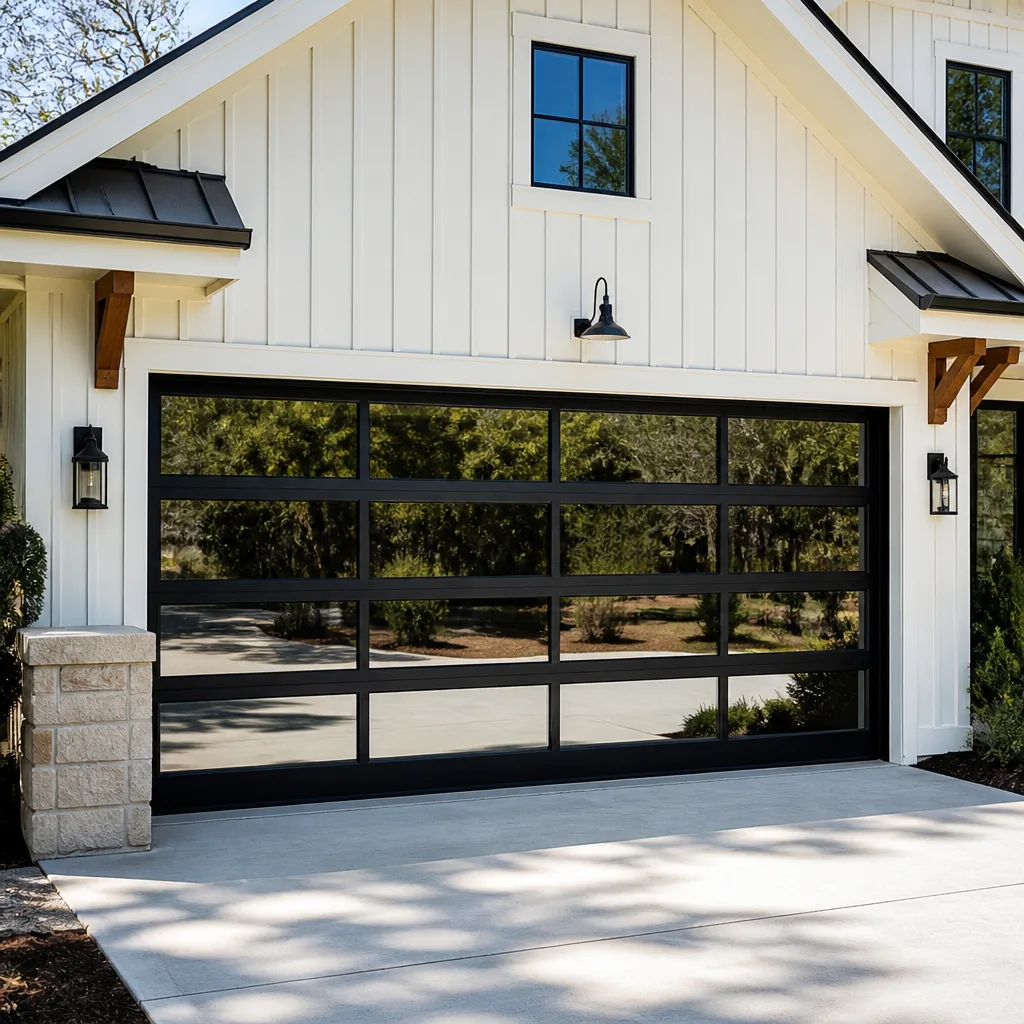 Full-view glass
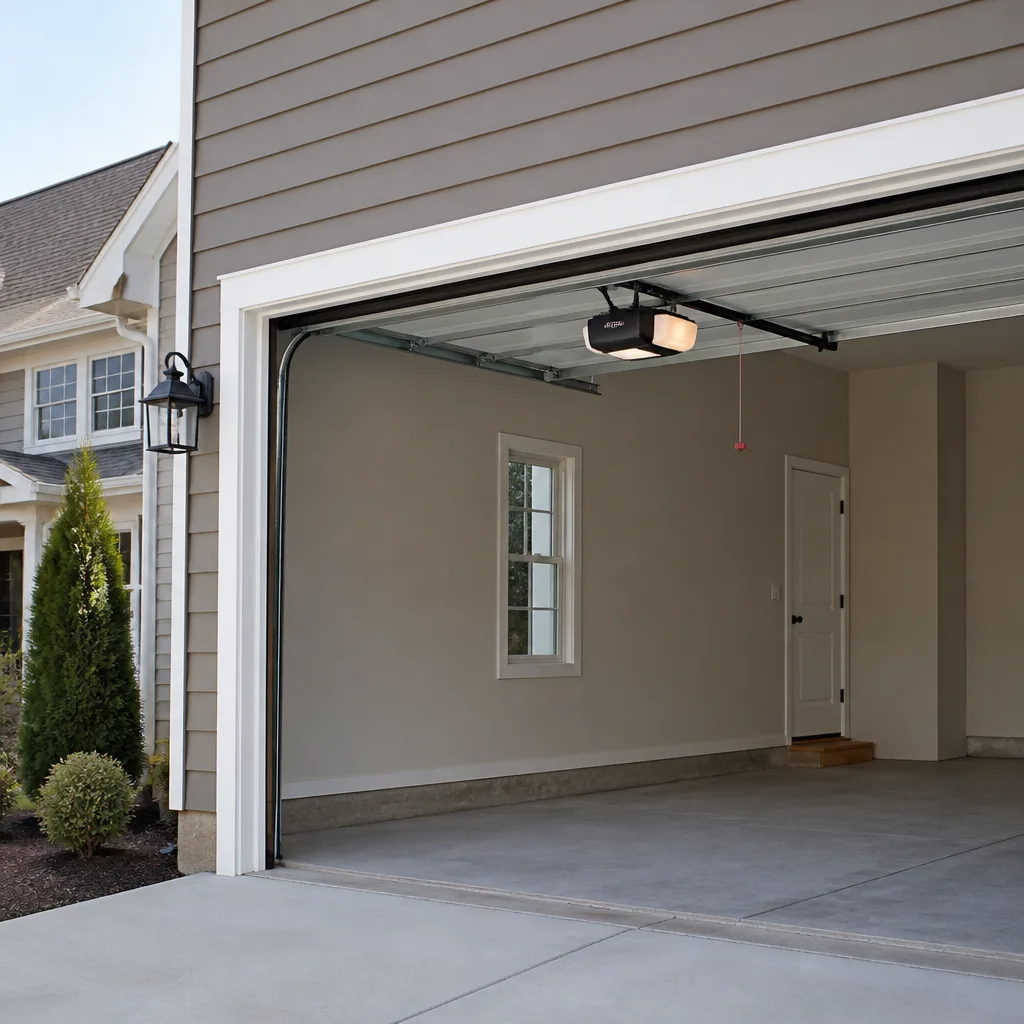 LiftMaster openers
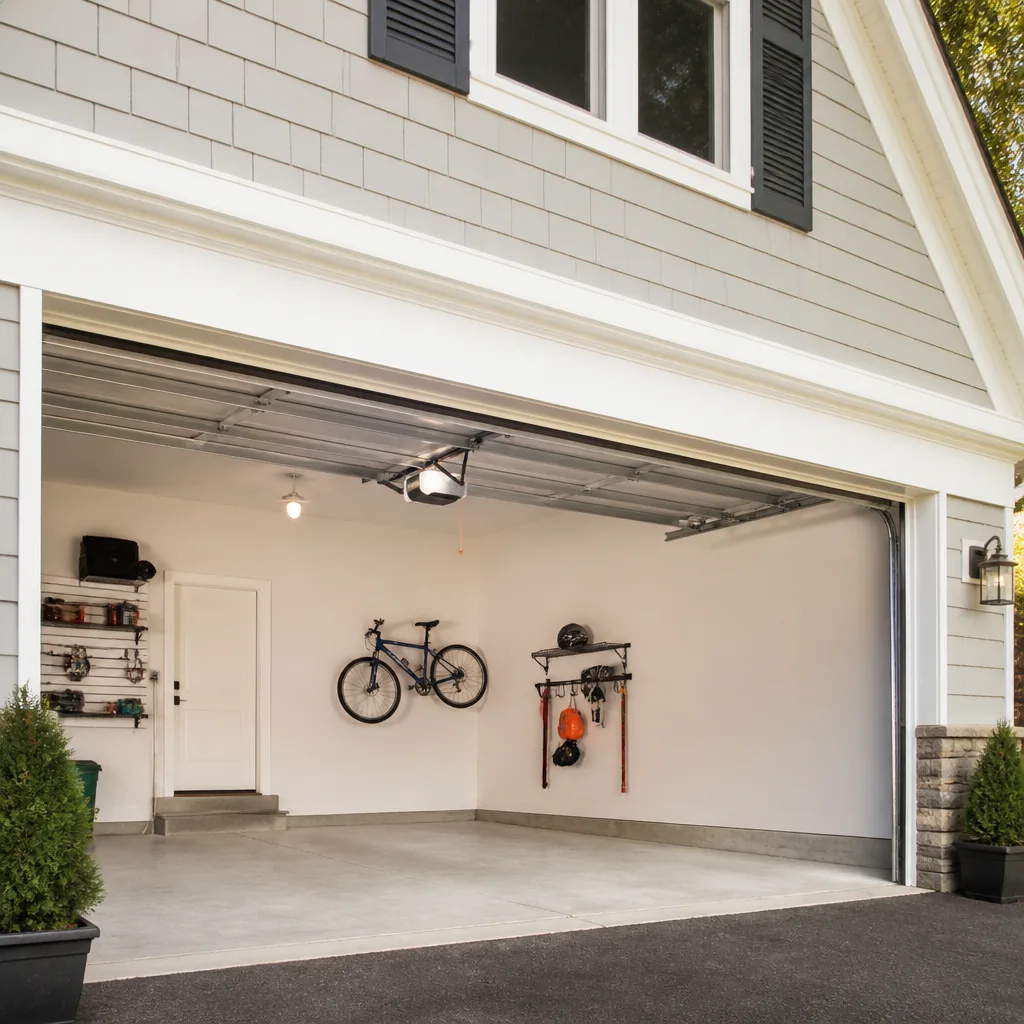 Chamberlain openers
Full 25-point door and opener safety check with every visit - springs, cables, rollers, tracks, and your LiftMaster or Chamberlain opener included
You get a price before we start. It does not change when the pro arrives.
Get your free estimateGarage Door Repair Maintenance Checklist for Princeton Homeowners
Most garage door trouble we’re called out for doesn’t start with a snap or a bang. It starts with a small bit of neglect: the wrong lubricant on the wrong part, a bottom seal that stopped sealing, a spring that’s been quietly losing tension. A general checklist tells you to “lubricate moving parts” and sends you off to buy whatever can is on the shelf. That’s how a smooth door becomes a grinding one. This guide is different. It tells you exactly what to put where, what to listen for, and which few tasks actually matter on a Princeton home that swings from humid August to frozen January. You’ll get a quarterly and annual split you can actually keep up with, a safe way to look at your springs without touching them, and the two-minute opener test that tells you whether your door will reverse before it hurts someone.
Quick Answer
A usable garage door maintenance checklist for a Princeton home comes down to four recurring jobs: lubricate the right parts with the right product (silicone spray or white lithium, never the wrong oil on nylon rollers), keep the tracks clean and clear, inspect the bottom seal and weatherstrip at each season change, and run a monthly safety-reversal test on your opener. Springs, cables, and anything under tension are inspection-only for a homeowner. Add a twice-a-year look at hinges, rollers, and hardware, and most doors stay quiet and reliable for years.
Styles & brands we work with
- Raised-panel steel
- Carriage house
- Modern flush
- Full-view glass
- LiftMaster openers
- Chamberlain openers
Table of Contents
- Which Lubricant Goes Where (And What Quietly Ruins Your Rollers)
- How to Inspect Torsion and Extension Springs Without Touching Them
- The 90-Second LiftMaster and Chamberlain Force Test
- Weatherstrip and Bottom Seal: When to Adjust vs. Replace
- Your Quarterly vs. Annual Task Split
- How Princeton’s Seasons Change What You Check
- When a Checklist Task Becomes a Repair
Which Lubricant Goes Where (And What Quietly Ruins Your Rollers)
Lubricant is where most well-meaning maintenance goes wrong. The wrong product doesn’t just fail to help; it attracts grit, breaks down nylon, and turns a smooth track into a sticky one. Here’s how we sort it out, product by product.
- White lithium grease: The right choice for metal-to-metal contact that carries load. Use it on the torsion spring coils (a light coat), the bearing plates, and the hinges where they meet. It clings, it doesn’t run, and it survives a cold snap. Don’t slather it on the track.
- Silicone spray: The right choice for the track itself and for nylon rollers. It dries to a thin film that doesn’t collect dust the way grease does. A quick pass along the vertical and horizontal tracks keeps the door gliding without gumming up the works.
- 3-in-1 oil or light machine oil: Fine for hinge pivot points and the opener’s chain or screw drive in small amounts. Not for rollers.
- What to avoid: Heavy grease, WD-40 as a lubricant (it’s a solvent and displaces oil more than it protects), and anything applied to a nylon roller. Nylon rollers are meant to run dry against the track. Grease on nylon pulls in grit, and grit is what wears the roller flat and scores the track.
Here in Princeton, the square, coil, and street-side homes around the borough all see the same pattern: a humid summer lifts dust into the air, and any sticky lubricant grabs it. By the time the January freeze locks things up, that gummy mix has turned a quiet door into a loud one. If you’re hearing a grinding or squeal that doesn’t go away after a proper silicone pass on the track, that’s a sign worth acting on sooner rather than later. Our garage door repair service can tell you in one visit whether it’s a lubrication issue or a worn roller or bearing.
How much to apply
Less than you think. A light wipe of white lithium on the spring and hinges, a thin silicone mist on the track. You want a film, not a coating. If you can see grease pooling, you’ve overdone it, and you’ll spend the next visit cleaning it out.
How to Inspect Torsion and Extension Springs Without Touching Them
Springs are the one part of your door you should never put a wrench to unless you’re a trained technician. Torsion and extension springs store enough energy to do real damage, and a spring under tension can release without warning. The good news: you can learn a lot about a spring’s health with your eyes and your ears, no tools required. Here’s what to look for, safely, from the ground.
- The gap test. Look at the torsion spring above the door (the horizontal coil) or the extension springs along the tracks. A healthy coil is even and tight. If you see a visible gap or a stretch where the coil has separated, it’s losing integrity and should come off the door before it lets go.
- The color and rust check. A light surface film is normal. Deep pitting or a rust line that runs along the coil means the metal is thinning, and thin metal breaks.
- A balanced-door check. Close the door and watch it. A properly tensioned spring holds the door at about a third open when you raise it by hand, on its own, without drifting down. If the door feels heavy and slams down, or springs up on its own, the tension is off.
- The sound test. A torsion spring that’s losing coil integrity often gets louder before it fails. A sharp clank or a ringing twang on opening and closing is your cue to stop and call.
Notice we didn’t say to check the springs by winding, testing, or adjusting anything. Don’t. This is the one job on this checklist that stays inspection-only. If your visual check turns up a gap, a rust line, or a door that’s stopped balancing, that’s a professional’s call. Spring repair is a core specialty for us, done with the tooling and tension management the job demands. If you want a trained eye on it, garage door spring repair is exactly what we handle, and we treat it as safety-critical work every time.
The 90-Second LiftMaster and Chamberlain Force Test
Your opener’s force settings decide how hard it pushes before it decides something’s in the way and reverses. When those settings are wrong, the opener can fail to reverse on contact, and that’s the kind of failure that hurts. This test takes about 90 seconds and you can run it monthly.
- The obstruction test (this is the big one). With the door open and the opener engaged, lay a roll of paper towels or a 2×4 flat on the floor in the door’s path. Press the wall control to close the door. The door should reverse on contact and go back up. If it keeps coming down, your force setting is too high and someone needs to dial it back.
- The photo-eye test. With the door open, wave your arm through the path of the safety sensors at the bottom of each track while it’s closing. The door should reverse immediately. If it doesn’t, the sensors are misaligned, dirty, or failed.
- The travel check. Run the door fully through a cycle. It should open to the same point and close fully flat every time. Short travel or a door that stops just shy of the floor means the limit settings have drifted.
LiftMaster and Chamberlain openers (they share the same myQ-connected logic and much of the same internals) let you adjust force and travel on the logic board, but the settings aren’t always intuitive, and a wrong move can leave the door reversing before it ever seals. Genie and Craftsman systems have their own procedures. If your test shows a door that won’t reverse, don’t keep pressing the button hoping it fixes itself. That’s a call to make. When you need an opener sorted, garage door opener repair is the service that resets the force, travel, and sensors and confirms the door reverses as it should.
Weatherstrip and Bottom Seal: When to Adjust vs. Replace
Princeton gets a real seasonal swing: muggy, wet summers and hard freezes in January. That cycle works on your door’s bottom seal and side weatherstrip more than almost any other part, and it’s the seal that keeps water, cold air, and mice out of the garage.
Check the bottom seal first
Close the door and look across the floor line from inside. You want the rubber seal to sit flat and press against the floor all the way across, with no light showing under it and no daylight at the corners. Run your hand along it (door closed, opener off) and feel for hard, cracked, or crumbling rubber, or a seal that’s pulled loose from its retainer.
When to adjust
If the seal looks intact but there’s a gap at one side or a light gap under part of the door, the door may just be out of level or the stops need a small adjustment. A door that seals on one side but not the other is usually a travel or stop issue, not a worn seal.
When to replace
If the rubber is cracked, brittle, torn, or flattened so it no longer springs back, replace it. Same for side weatherstrip that’s pulled off or gone hard. A worn seal at the bottom lets meltwater and cold air in, and in a Princeton winter that means a wet, icy floor at the door and a garage that never quite dries out.
Clopay and Amarr doors, common on newer construction and rebuilds around Princeton, use specific retainer profiles for their bottom seals. Matching the profile matters, or the new seal won’t seat right. That’s a place where the right parts knowledge saves a second trip.
Your Quarterly vs. Annual Task Split
The reason most maintenance checklists get ignored is that they list thirty monthly reminders and nobody keeps up with thirty. Here’s the split that actually works: a handful of things you do a few times a year, and one bigger once-a-year walkaround.
Every quarter (or whenever you think of it)
- Silicone spray on the tracks; light white lithium on the spring and hinges.
- Wipe down the tracks with a dry cloth; clear grit from the floor of the track.
- Run the safety-reversal test (obstruction and photo-eye).
- Look at the bottom seal and side weatherstrip; note any gaps.
- Listen. A new sound, clank, or squeal is your first warning.
Once a year
- Inspect hinges and rollers for wear, flat spots, or a roller that’s pulled loose.
- Check the spring for gaps and rust lines (sight only).
- Check hardware: bolts, brackets, the door arm, and hinges for looseness.
- Test the manual release and make sure the door runs freely by hand.
- Have an opener’s force and travel re-confirmed, especially if you’ve changed batteries, remotes, or wall controls.
That’s the whole checklist. It’s short on purpose, and it covers the things that actually cause downtime. If a task on the list looks beyond this, the checklist has done its job: it told you to call.
How Princeton’s Seasons Change What You Check
The checklist is the same all year, but what you’re looking for shifts with the season, and Princeton’s weather asks different questions in July than in January.
- Late spring and summer: Humidity is the enemy of seals and of sticky lubricant. This is when you inspect the bottom seal for softening and check that your lubricant hasn’t grabbed grit. Run the reversal test more often; a door that’s sluggish in the heat is telling you something.
- Fall, before the first freeze: This is the important one. Check that the bottom seal sits flat (winter meltwater finds every gap), test that the door closes fully flat against the floor, and confirm the opener still reverses. A door that doesn’t seal before a freeze means an icy floor and a wet garage all season.
- Deep winter: Cold makes metal contract and rubber stiffen. This is when a slightly off spring gets louder, and when a door that sealed fine in October shows a gap at the corner. Watch for the sharp clank.
- Early spring: Thaw and rain. Look for water tracking under the door and for any rust line on hardware or springs that appeared over the winter.
Older homes around the borough and newer builds toward the edges of town don’t age the same way, but they all see the same freeze-thaw and humidity cycle. The order of your checks is seasonal, not one-size-fits-all.
When a Checklist Task Becomes a Repair
A checklist is for doors that work. When a check turns up a problem that’s beyond a wipe-down or a silicone pass, it’s a repair call. These are the ones we’d have you stop and call on instead of pressing through:
- A gap or rust line in a torsion or extension spring, or a door that won’t stay balanced.
- A door that fails the obstruction or photo-eye reversal test, even once. That’s a safety issue, not a nuisance.
- A grinding or binding door that a silicone pass didn’t quiet, which usually points to a worn roller, bearing, or track.
- Cables that look frayed, kinked, or slack.
- A door that’s come off its track or is hanging crooked.
- A bottom seal that’s gone hard or torn before winter sets in.
None of those are jobs for a wrench and an afternoon. They’re where a trained technician earns their keep, and where a check you did on purpose saves a door that fails on its own.
Common Mistakes to Avoid
- Greasing the nylon rollers. It feels productive and it shortens the life of the roller. Nylon runs dry against the track; grease pulls in grit and wears it flat.
- Using WD-40 as a lubricant on the door. It’s fine as a solvent and a rust loosener, but it doesn’t leave the protective film a door needs, and it can wash away the lubricant that was doing the job.
- Winding or “testing” a spring by hand. This is the mistake that causes serious injury. Springs stay inspection-only. Look, listen, and call.
- Skipping the reversal test because the door “seems fine.” The whole point of the test is to catch the failure before it matters. Ninety seconds a month is cheap insurance.
- Ignoring a small gap at the bottom seal until winter. In a Princeton January, that gap is meltwater and ice on the garage floor. Fix it in the fall, not after the first freeze.
- Replacing an opener when the problem is a worn roller or a misadjusted sensor. We see this often: a door that’s noisy or sluggish gets a new opener when the actual wear was in the door hardware. Diagnose before you replace.
- Assuming a general handyman covers springs and openers. These are specialty repairs. The right tooling and the right brand knowledge matter more here than on almost any other part of the house.
See the difference
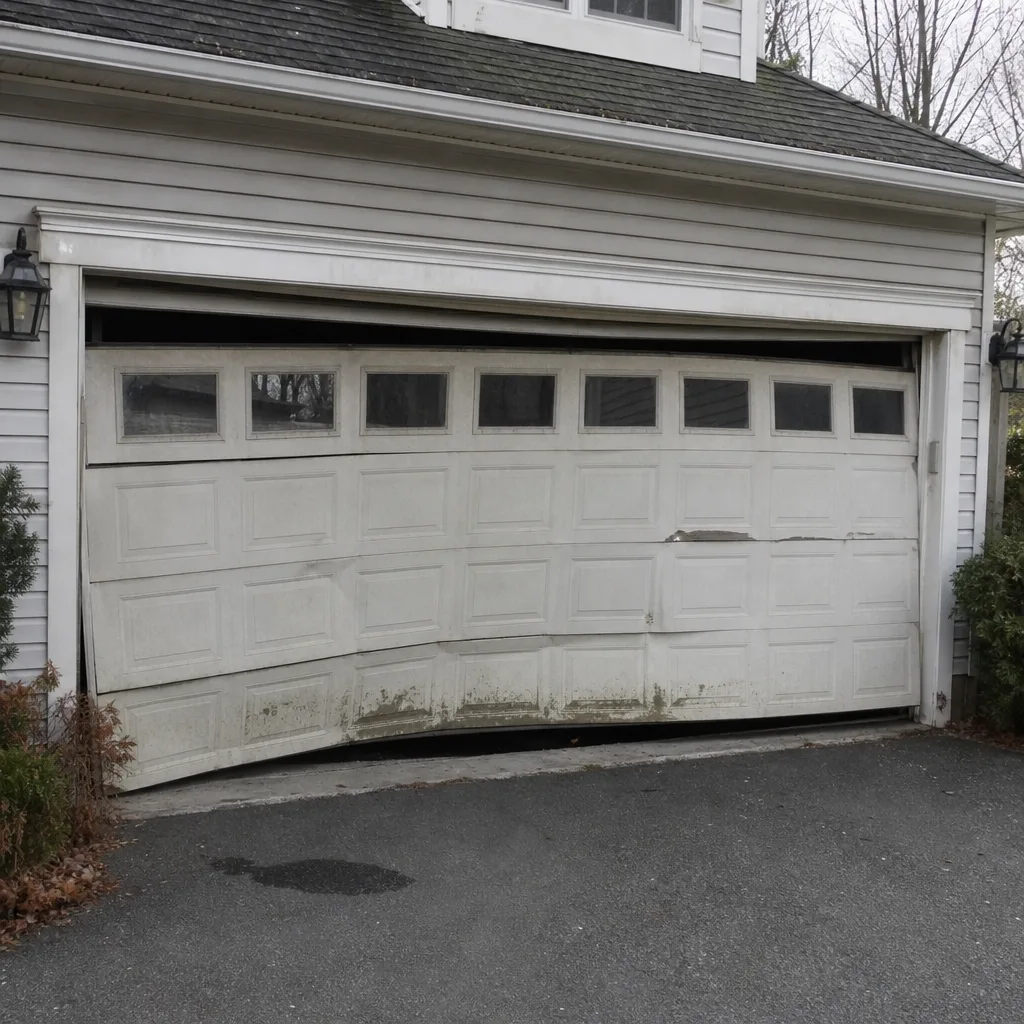 Before
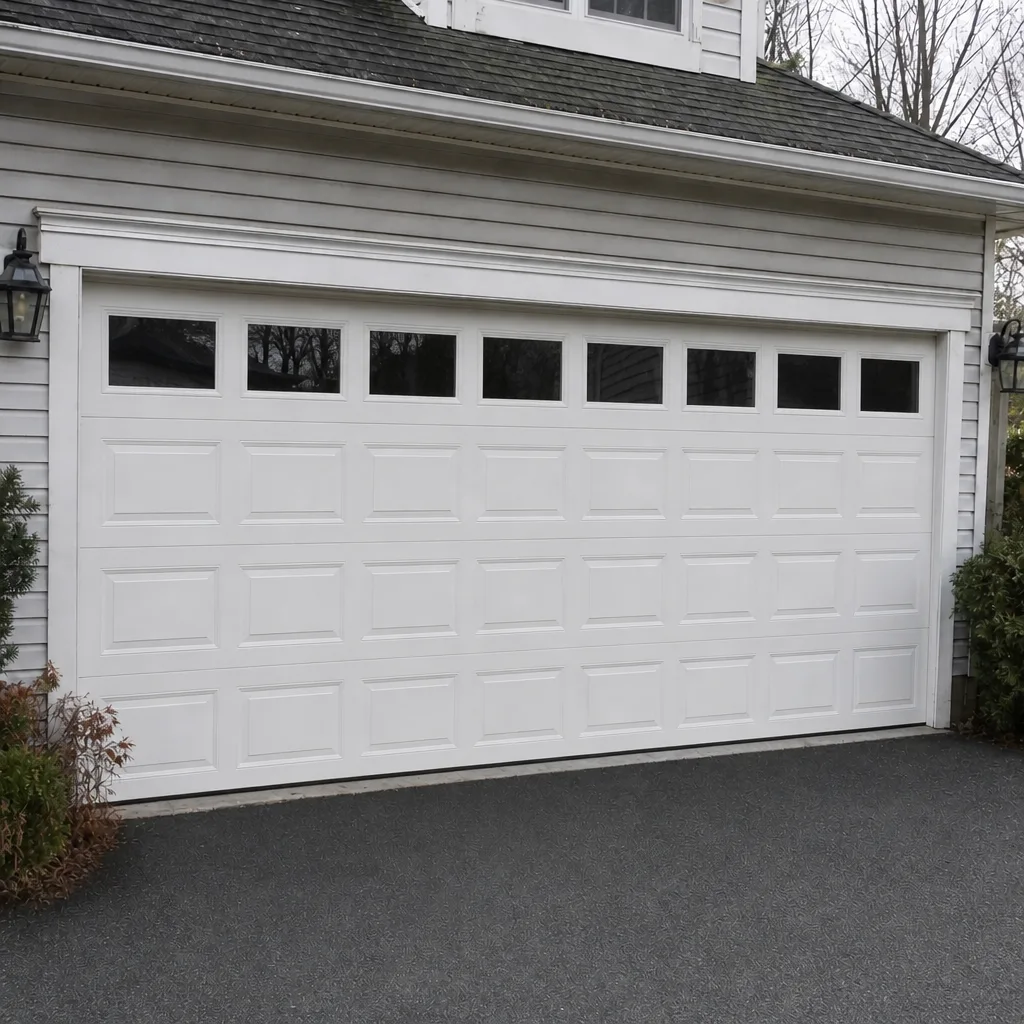 After
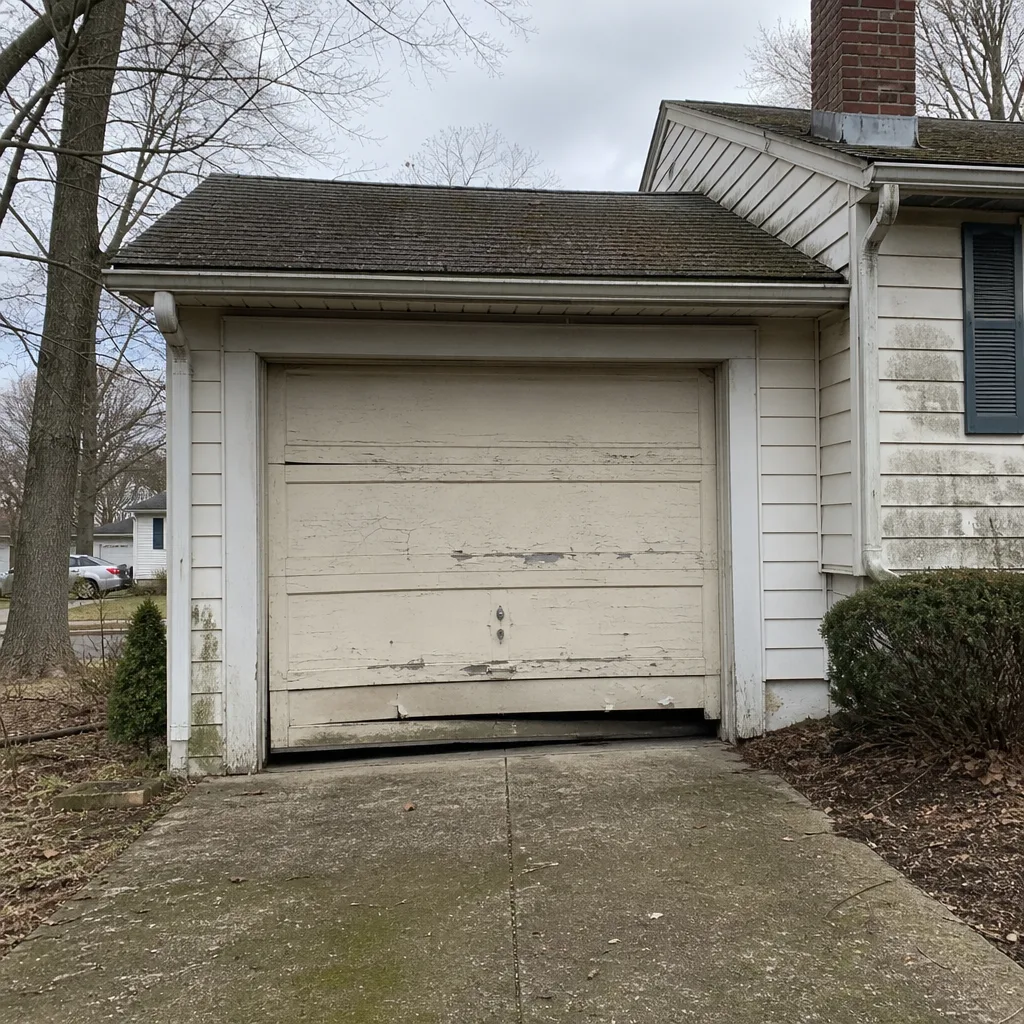 Before
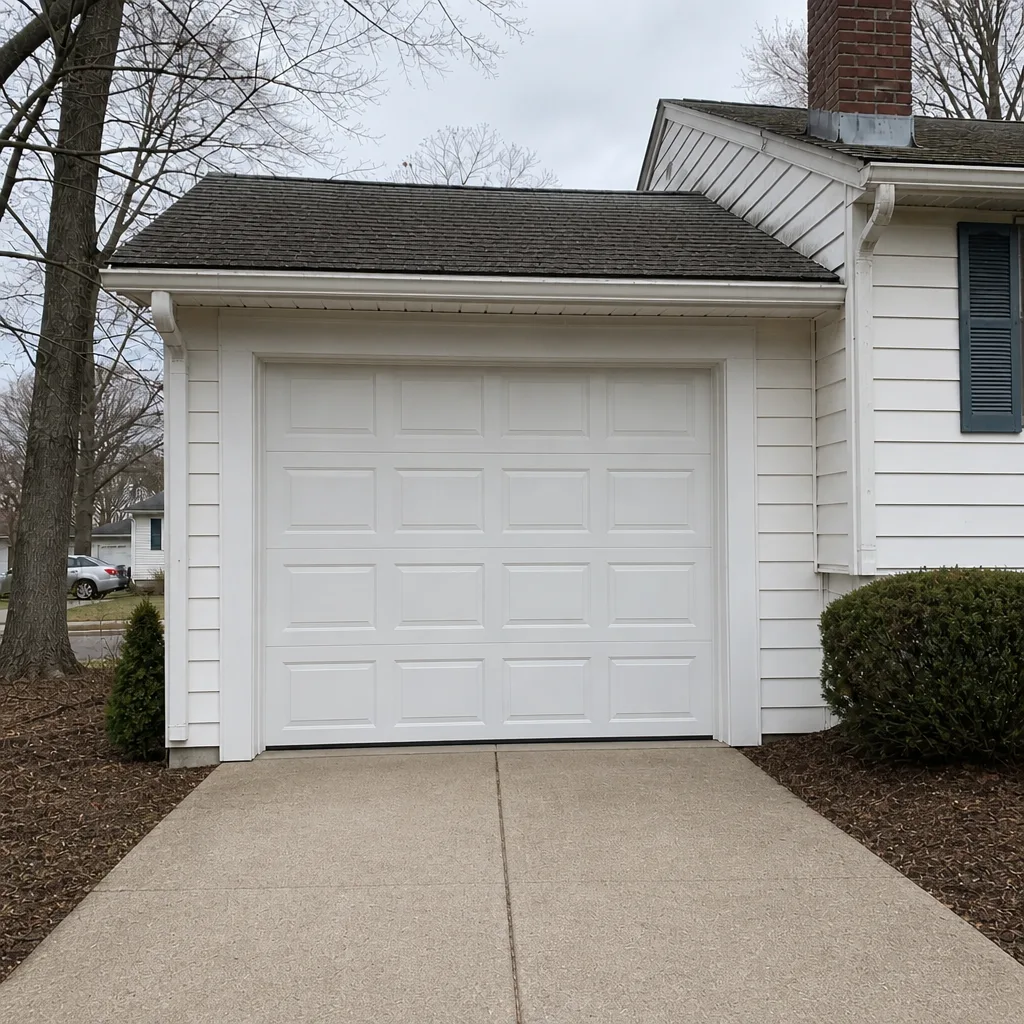 After
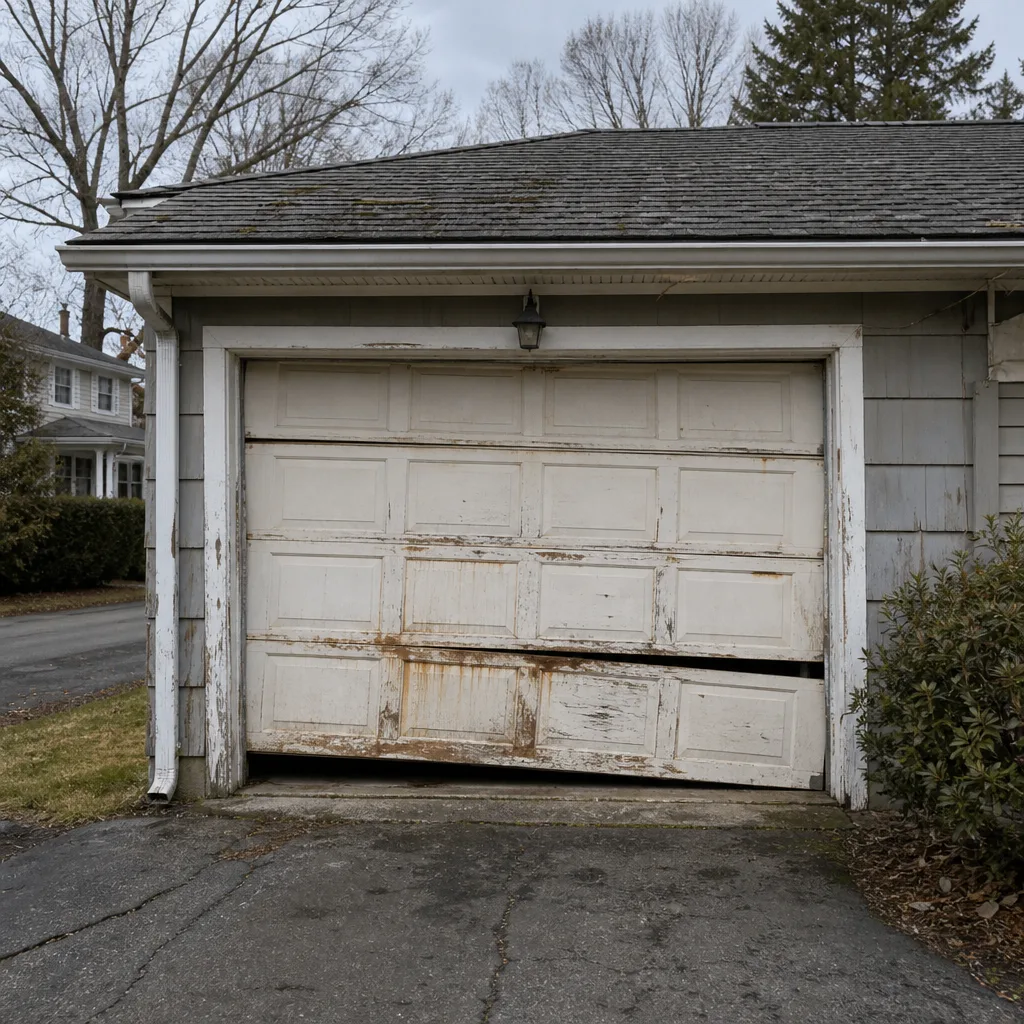 Before
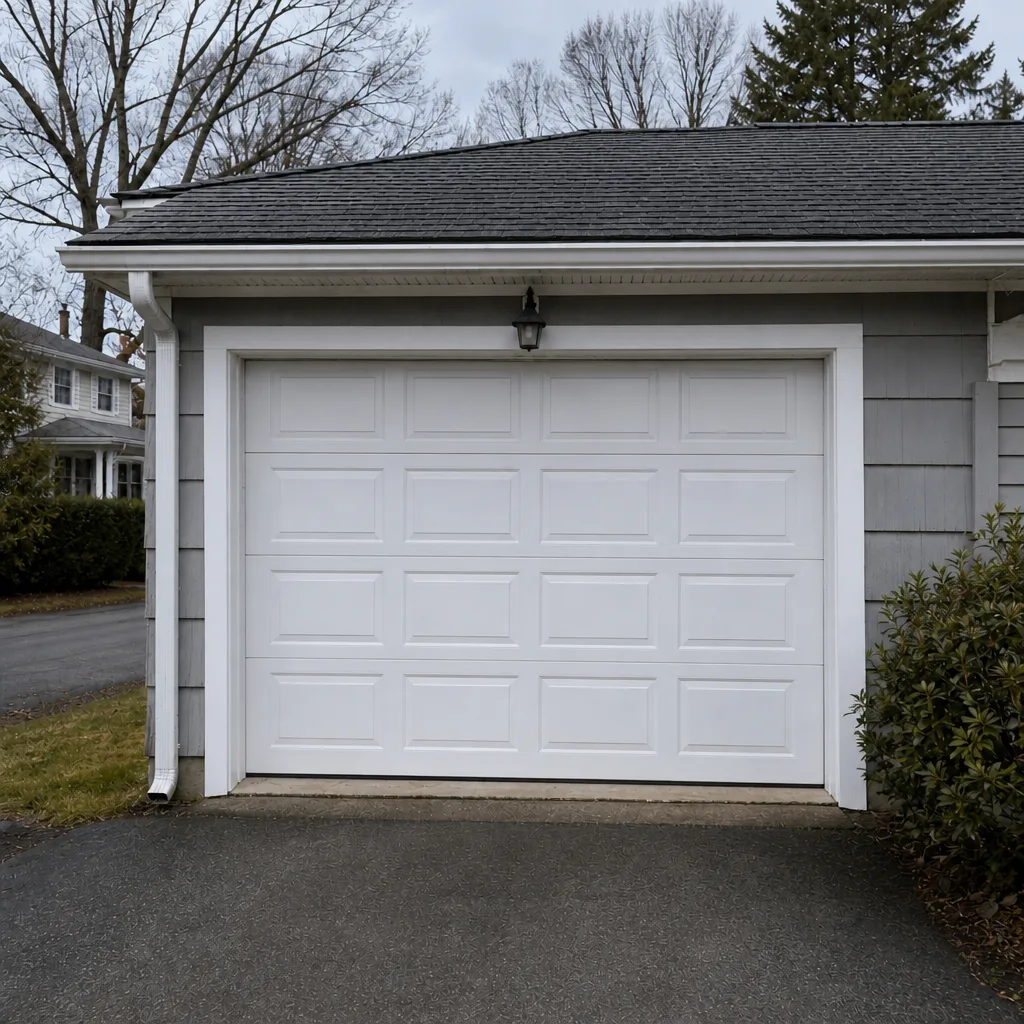 After
When to Call a Professional
Call a professional the moment a checklist item crosses into tension, alignment, or safety. If you see a spring gap or rust line, if your door won’t reverse on contact, if a cable looks frayed, or if the door hangs crooked or has left its track, stop and pick up the phone. Those aren’t jobs for a wrench and a weekend. Spring work in particular belongs to a technician with the tooling and tension protocols the job demands, which is why we treat it as safety-critical every time. A door that grinds after a proper lubrication pass, seals poorly before a freeze, or has an opener that won’t set force and travel correctly is also a call worth making sooner rather than later. Princeton Garage Door Repair Pros offers free estimates in Princeton. Call (855) 337-2012. We answer 24/7. Fast dispatch from 7am to 7pm, Sunday through Friday.
Frequently Asked Questions
Use silicone spray on the tracks and nylon rollers, and a light coat of white lithium grease on the torsion spring, bearing plates, and hinges. Skip heavy grease and WD-40 as a long-term lubricant, and never apply grease to nylon rollers, which run dry against the track. If a grinding noise doesn’t quit after a proper silicone pass, that’s a call: (855) 337-2012.
Once a month is the right interval, and it takes about 90 seconds. Put a roll of paper towels or a 2×4 in the door’s path and confirm it reverses on contact, then wave an arm through the photo-eye beam while the door closes and confirm it reverses again. A door that fails either test is a safety call, not a nuisance. Call (855) 337-2012 for a same-day check.
No. Torsion and extension springs store enough energy to cause serious injury, and they can release without warning, so this is inspection-only for a homeowner. Look for gaps, rust lines, and balance problems from the ground, then call. Spring repair is a core specialty we handle with the proper tooling and tension management. Call (855) 337-2012. We answer 24/7.
Cold contracts metal and stiffens rubber, so a slightly off spring, a dry hinge, or a worn roller gets louder in January than it was in October. A silicone pass on the track and a light re-lubrication of the spring and hinges often quiets it. If the noise is a sharp clank or a ringing twang, that’s a spring telling you to call, not a lubrication problem. Call (855) 337-2012 for a free estimate.
Replace it when the rubber is cracked, brittle, torn, or flattened so it no longer springs back. If the seal looks intact but there’s a gap at one side, the door may just be out of level or the stops need adjusting, which is a different fix. Before a Princeton freeze is the right time to sort it. Call (855) 337-2012 for a free estimate.
It should, and the force and photo-eye tests tell you in 90 seconds whether it will. If your door doesn’t reverse on contact or through the sensor beam, the force setting, the sensors, or the travel limits need attention. LiftMaster and Chamberlain systems have specific settings for this, and Genie and Craftsman have their own. Call (855) 337-2012 and we’ll get the opener set correctly.
The Bottom Line
The difference between a checklist that works and one that gets ignored is specificity. Know which lubricant goes where. Know that nylon rollers run dry. Inspect your springs by eye and ear only, never by hand. Test the reversal monthly, and put the bottom seal and weatherstrip on a pre-freeze schedule so a Princeton winter doesn’t find the gaps for you. A few minutes each quarter and one solid annual walkaround keep your door quiet and reliable, and tell you exactly when it’s time to call. When it is, call (855) 337-2012. We answer 24/7. Fast dispatch from 7am to 7pm, Sunday through Friday.
Written by the team at Princeton Garage Door Repair Pros.